New release 2019/04/25
Initial experiment
- Gas is generated due to overheating of fibers or adhesives, etc., and gaps are generated between each other when solidifying to generate a smoothing or foam dome.
- Overheating of fibers or adhesives etc. is avoided, and they adhere to each other during solidification, and the surface of the cast can be transferred design.
Test note
This display picture is displayed with the original data compressed several times. Therefore, it is inappropriate for analysis and may differ from the analysis content of the text.
For inquiries about the original, please e – mail to project@bips-technology.com.
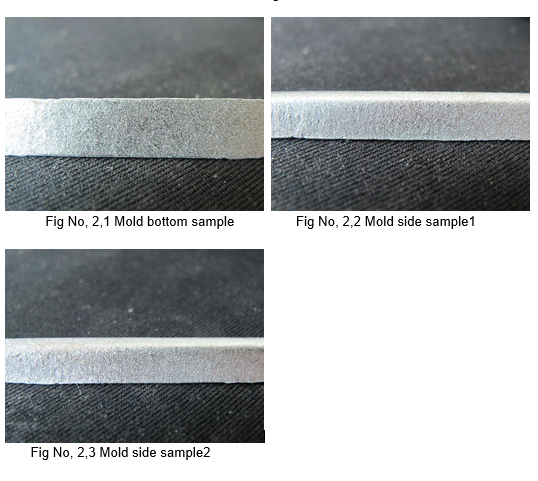
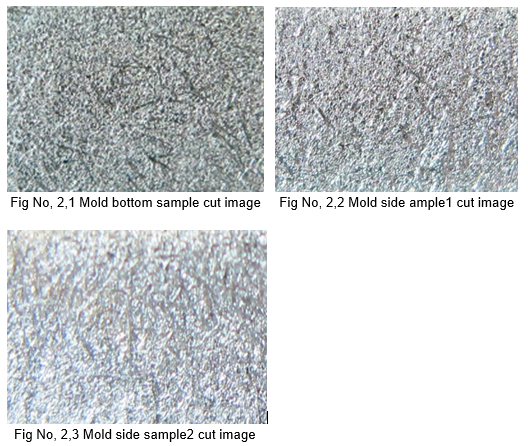
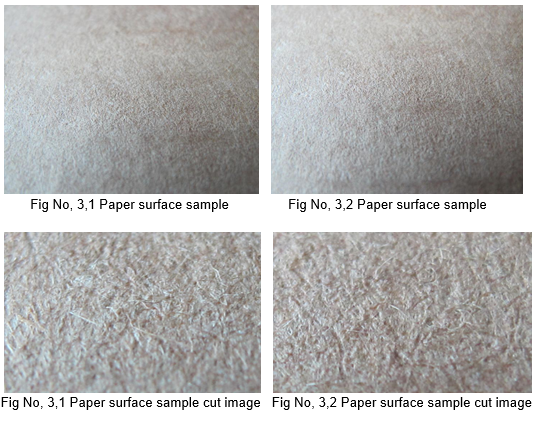
We chose three surface samples of castings as Fig No, 2-1 Fig No, 2-2 Fig No, 2-3. Then, for each image analysis, an image image of the target part was extracted. Likewise, we selected two paper image samples by selecting Fig. 3-1 Fig No, 3-2 on the paper surface sample.
It is determined whether or not the paper surface shape has been transferred to the solidified metal surface. The metal surface has smooth unevenness and the image taken is changed by the reflection of light from the surroundings. So be careful with the following points.
- Point 1
Shooting was avoided from point light source, taking a picture with awareness of the surface light source using the curtain at the window side during the day. - Point 2
Focus depth was regarded as important with a lens with long focal length rather than the enlargement ratio of images. - Point 3
The paper surface was taken under the same conditions as the metal surface, so the contrast was weak, but the equivalent condition was given priority. - Point 4
If the number of feature points is 100 or more, it is sufficient for initial observation, so it is about 4 mm square.
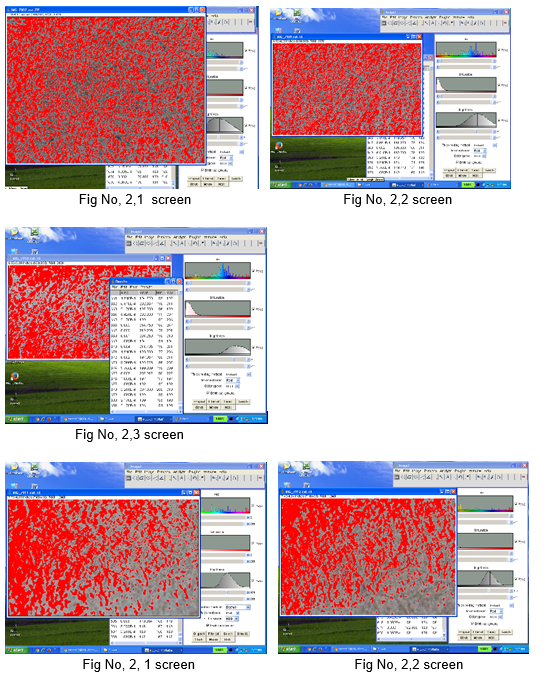
In this item, we investigate the surface shape which shows mutual adhesion when metal is solidified. First, we verify the similarity in two dimensions of the comparative control image. The similarity of the image is taken as reference by specifying the minimum and maximum size of the light spot and summing up the target quantity. Actually, the shape, size and quantity of irregularities on the surface are related, but this time we will focus on the reflection of light of circular or near shape.
Processing procedure of Image:
1 Image – Type – ( RGB Color )
2 Image – Show info – ( xxx,yyy )
3 Image – Adjust – Threshold – ( Original )
4 Analyze – Analyze Particle – ( Ok )
Generally, the number of reflections of light is doubled on metal surfaces and other nonreflective surfaces. In addition, it is necessary to correct the measurement width with each sample pixel number. Therefore, the numbers to be compared are corrected with the following correction table.
Pixel number correction table
Data 7907 1676 ( 804 x 586 ) 471144dot
Data 7908 853 ( 630 x 389 ) 245070dot / 1639.8
Data 7910 681 ( 633 x 365 ) 231045dot / 1388.6
Data 7911 538 ( 745 x 466 ) 347170dot / 730.1
Data 7912 620 ( 710 x 465 ) 330150dot / 884.7
( 1639.8 + 1388.6 ) / ( 730.1 + 884.7 ) = 1.785
Attention
A corporate name, the brand name, and the design logo that has been described are the trademarks or registered trademarks of each company.
Biological Process System Technology Taiwan copyright(C)All rights reserved 2019

